
Summer sod installation is not simply a race between fresh grass and hot weather. Warm-season turf is actively growing in July, but every piece arrives with a shallow root system that depends on close soil contact and dependable moisture. The result is decided as much by preparation and follow-through as by the sod itself.
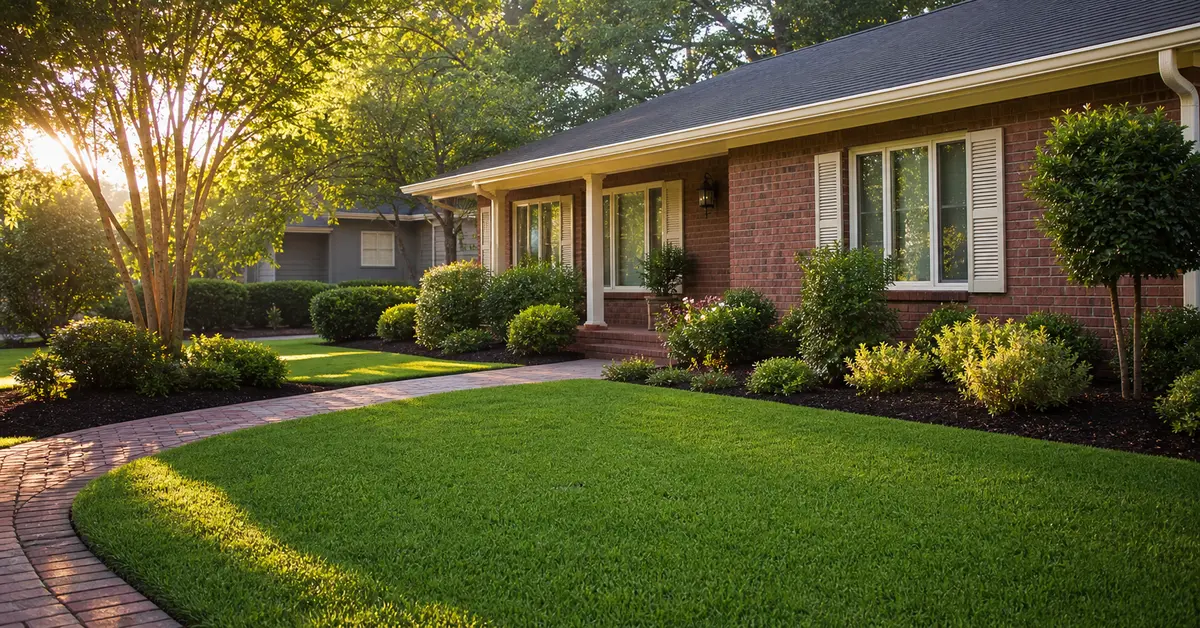
For homeowners around Phenix City, Columbus, and nearby Chattahoochee Valley communities, new sod offers the fastest visual change in a landscape. It can turn bare soil, a construction-damaged lawn, or an uneven patchwork into a clean green surface in a day. But instant coverage is not the same as instant establishment. Until roots begin knitting into the prepared soil, the lawn remains vulnerable to heat, drying edges, trapped air, and poor drainage.
A successful project treats sod as the final layer of a larger system. The grade has to move water correctly. The soil must support root contact. The turf choice has to match sun and site conditions. Installation must be tight and timely, and irrigation must change as roots develop. Greenz Outdoor Services includes sod within its landscape design and installation services, allowing those pieces to be considered together.
Can sod be installed in July?
Yes, warm-season sod can be installed during active summer growth, but the margin for missed watering is smaller when temperatures climb. Fresh pieces can lose moisture rapidly, especially along edges, narrow cuts, high spots, and areas beside reflective pavement. Installation timing should account for delivery, site readiness, irrigation access, and the ability to monitor the lawn after the crew leaves.
Weather can create the opposite problem too. A thunderstorm may saturate one part of the yard while another remains relatively dry. Watering a fixed schedule without checking the soil can keep a low spot too wet and a sunny slope too dry. The goal is consistent moisture at the sod-soil interface without leaving the area waterlogged.
Five stages of a durable sod installation
1. Correct grade and drainage before turf arrives
Sod follows the surface underneath it. It does not erase depressions, reverse a bad slope, or solve a runoff channel. Low spots will still collect water, and high spots will still dry first. Before installation, verify that the finish grade moves water away from structures and does not trap it against patios, walks, or beds.
If water already lingers after ordinary rain, solve that issue first. Installing green turf over a wet-zone problem only hides it temporarily. Our yard drainage warning-sign guide explains when grading, a French drain, or a coordinated solution may need to come before sod.
2. Prepare a clean, workable soil surface
Old turf, weeds, construction debris, rocks, and severe compaction interfere with root contact. The prepared surface should be smooth and firm enough to walk on without deep footprints, yet loose enough at the top for roots to enter. Soil testing can guide amendments when a site has a known pH or nutrient concern; guessing and overapplying products is not a substitute for preparation.
Final grading should account for sod thickness so the finished lawn meets sidewalks, driveways, and patios cleanly. If the soil is left too high, turf can sit proud of the edge. Too low, and the joint can collect water or become a trip point.
3. Match the turf to sunlight and use
Bermudagrass and zoysiagrass are common warm-season choices in this region, but they do not perform identically on every property. Sun exposure, shade duration, expected foot traffic, appearance preferences, and maintenance expectations should guide the decision. A turf that thrives in an open front yard may thin under a dense tree canopy.
Observe the site across the day instead of labeling it simply sunny or shady. Morning sun with afternoon shade is different from filtered light all day. The right selection is the one suited to the actual property, not the grass that looked best in a single sample square.
4. Install quickly with tight soil contact
Sod should be installed as soon as practical after delivery. Pieces are laid tightly so edges meet without overlapping, and joints are staggered to avoid long continuous seams. Small gaps dry quickly and can fill with weeds or soil. Overlaps create raised ridges that root poorly and scalp during mowing.
Oddly shaped cuts near curves, beds, and irrigation heads require extra attention because narrow strips lose moisture faster. Good contact across the full piece matters more than pressing down only the seams. The lawn should be checked for air pockets and uneven areas before the establishment watering begins.
5. Water for establishment, then taper with root growth
New sod needs moisture through the grass layer and at the soil surface below it. During hot weather, that may require more frequent observation than an established lawn. Check several locations, including edges and sunny high spots. The objective is moist, not flooded, soil contact.
As roots begin to attach, watering should gradually shift away from frequent shallow applications toward a routine that encourages deeper rooting. Do not leave the controller on the initial establishment schedule for the rest of summer. A properly functioning irrigation system makes even coverage easier, but it still needs to be tested and adjusted. Review these sprinkler system repair warning signs before relying on every zone.
Common summer sod mistakes to avoid
- Installing over unresolved drainage problems: recurring wet spots remain wet beneath new turf.
- Letting pallets sit in the heat: stacked sod can deteriorate before it ever reaches the soil.
- Watering by appearance alone: green blades do not prove the underside is making moist contact.
- Ignoring edges and narrow cuts: these sections dry faster than the middle of a full piece.
- Creating constant saturation: more water is not always better, especially in low areas.
- Mowing before the sod is anchored: turning or braking can shift pieces that have not rooted.
- Using the lawn too soon: concentrated foot traffic can create depressions and open seams.
How to tell whether new sod is rooting
After the initial establishment period, gently lift a corner in a few representative locations. Increasing resistance suggests roots are entering the soil below. Do not tug hard enough to tear new roots. Check a sunny area, a shaded area, an edge, and any section that has looked different from the rest.
Color alone can be misleading. A slightly dull section may be drying, but yellowing can also accompany excessive moisture or poor soil contact. Look at the pattern, feel the soil, and compare irrigation coverage before changing the whole schedule. If the lawn shows curved dry bands or one wet zone, the issue may be irrigation distribution rather than the sod.
What affects sod installation cost?
Square footage matters, but it is only one part of the estimate. Removal of existing material, access, disposal, grading, soil preparation, turf selection, irrigation adjustments, tight curves, and restoration around beds or hardscape all change the scope. A bare, accessible rectangle is different from a sloped yard with drainage work and many detailed cuts.
Ask what the estimate includes before comparing totals. A lower number that skips preparation can become expensive if the finished grade is wrong or the sod never establishes evenly. Homeowners in Columbus and Phenix City should expect a site-specific plan rather than a universal square-foot promise.
Sod installation questions
What should be put down before sod?
Sod needs a clean, properly graded soil surface with good contact and no buried debris. Soil test results may support specific amendments, but preparation should be based on the site rather than a generic product list.
How often should new sod be watered in July?
There is no safe one-size schedule. Fresh sod should stay consistently moist at the soil interface without remaining flooded. Heat, wind, shade, soil, slope, rainfall, and sprinkler coverage determine how often you need to check and adjust.
When can I mow new sod?
Wait until the sod has begun rooting firmly enough that normal mower movement will not lift or shift pieces. Confirm the soil is not saturated, use a sharp blade, and avoid aggressive turns during the first mow.
Should drainage be fixed before installing sod?
Yes. Sod does not correct a low spot, bad slope, or recurring saturated zone. Addressing drainage and finish grade first protects the new lawn and helps irrigation apply more evenly.
Give the new lawn a fair start
The visible grass is only the final layer. A summer sod project succeeds when grade, soil contact, turf choice, installation, and irrigation support one another from day one. If you want a property-specific plan, request a sod installation estimate or call Greenz Outdoor Services at (706) 786-9664.